
Last modified 30 May 2008 by Bob Burchsted
Photos are courtesy of Andrew Dickinson at Jamestown Boat Yard
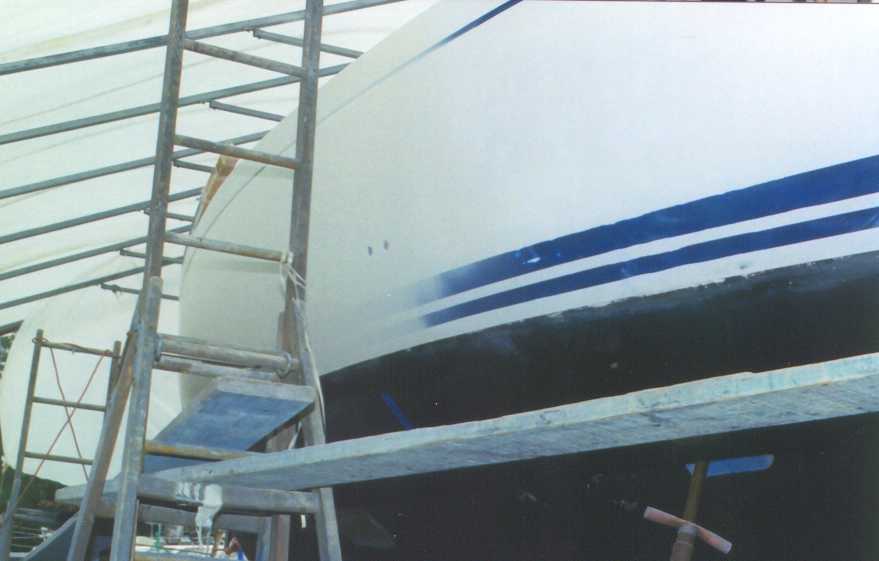
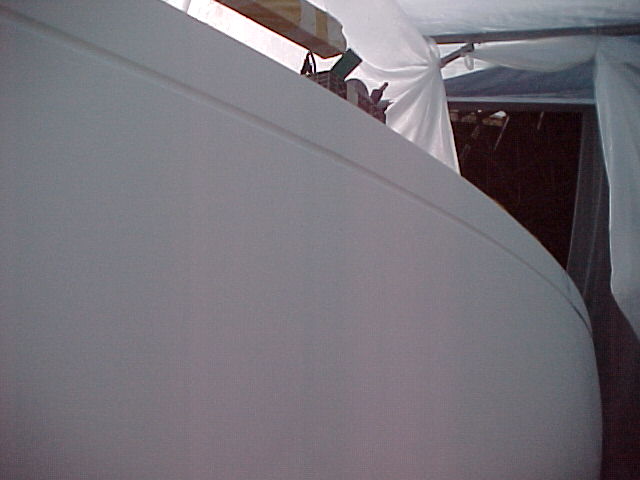
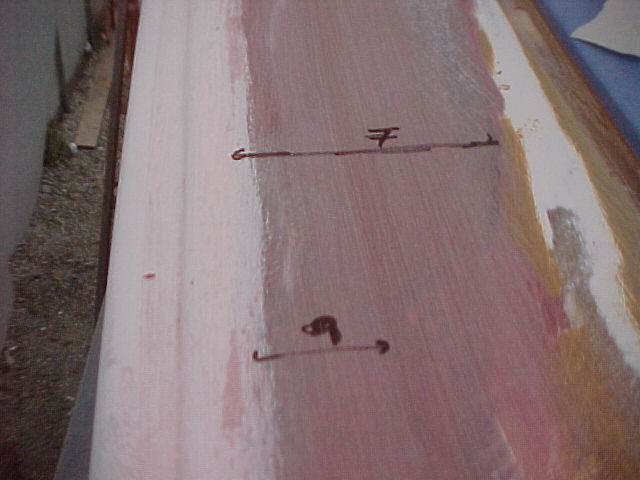
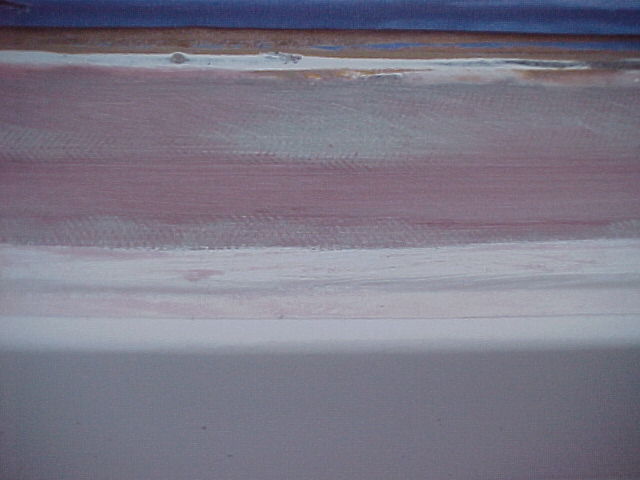
The following pictures show the fairing of the hull. There were 7 layers of fiberglass put on the exterior (after grinding down). This is then ground down and faired to match the hull. This provides a backing for the real glass repair, which consists of grinding the old fiberglass from the interior until the new fiberglass is reached. (This is how it was explained to me by their fiberglass guy.)
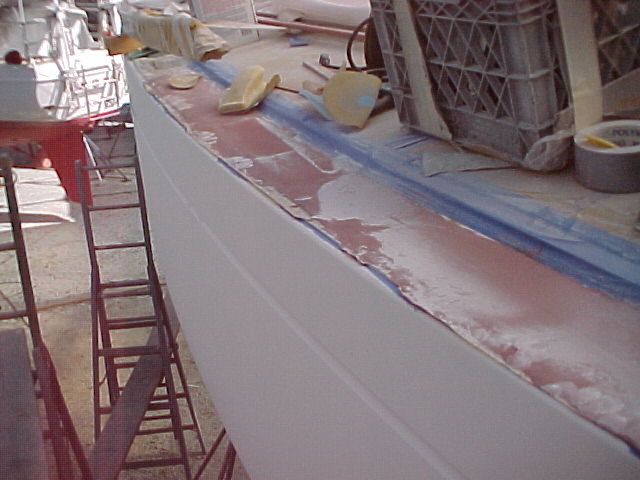
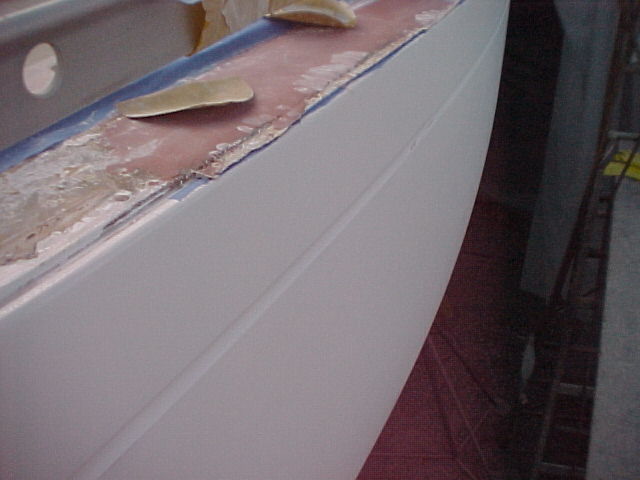
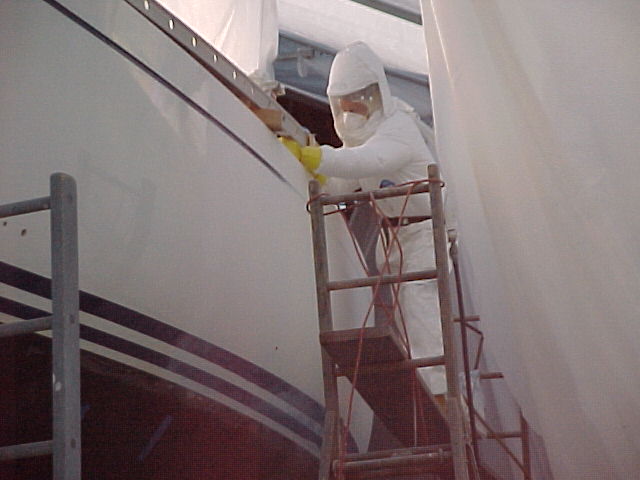
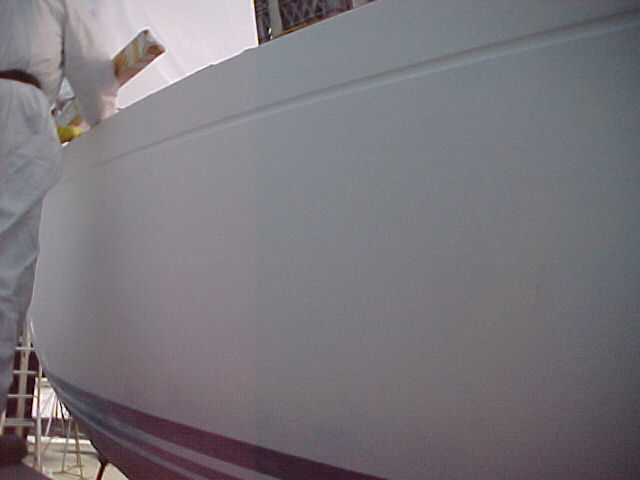
The following show the hull/deck joint repair.

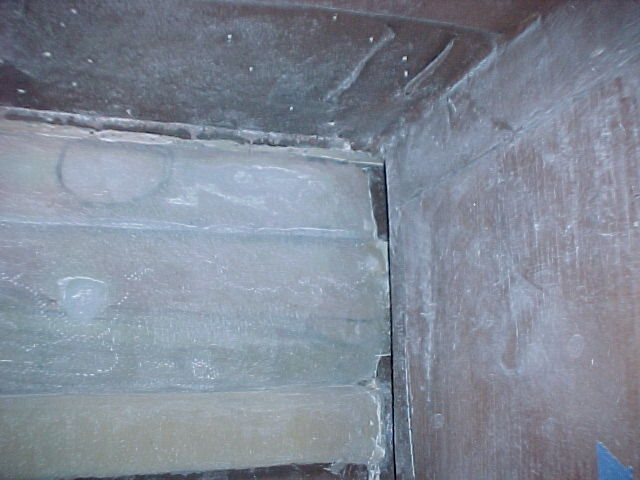
Here are some photos showing the start of the interior repair. They must grind down the interior fiberglass until they reach the fiberglass they put on the exterior.
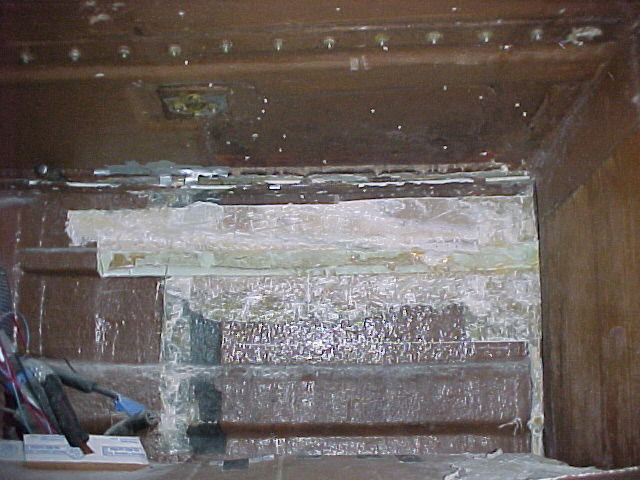
They have ground down the cove stripe stringer, and cut out more of the forward refrigerator bulkead.
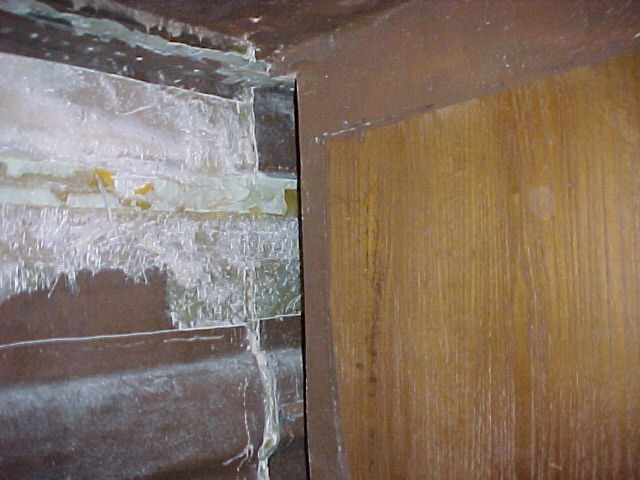
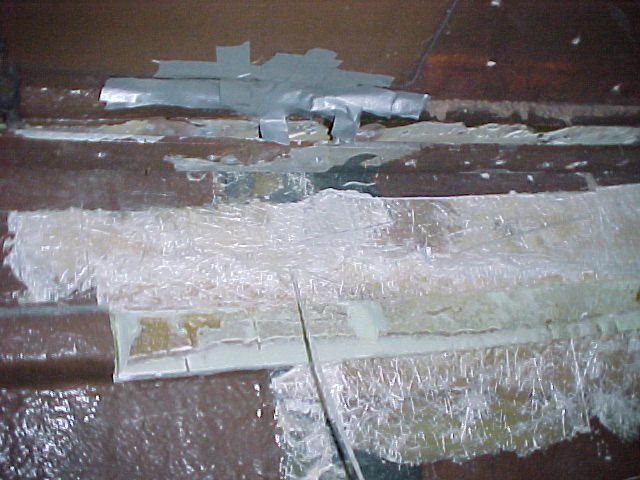
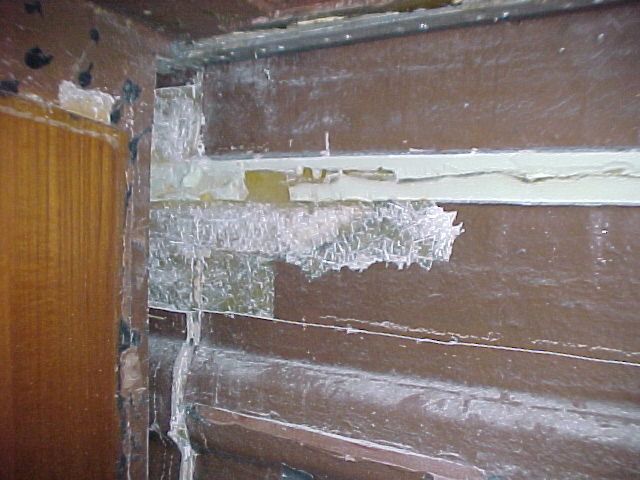
Later in the week, as more grinding is done.
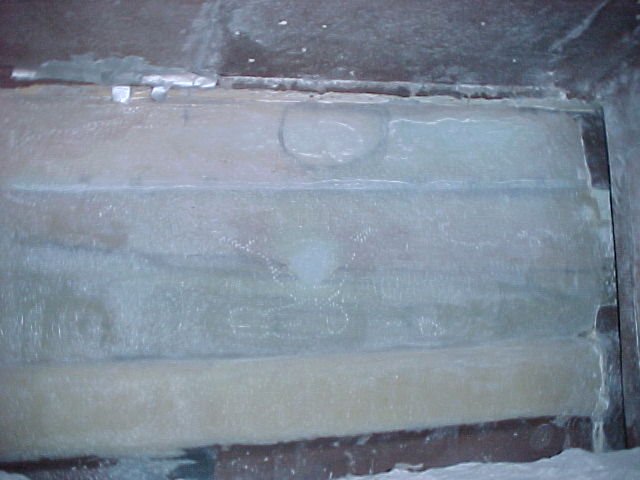
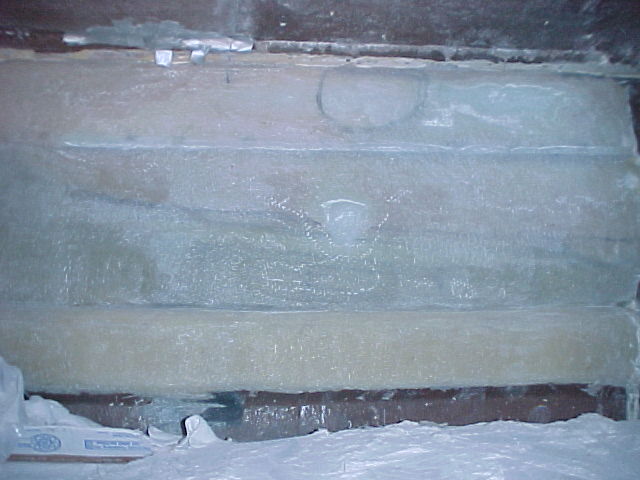
Photos taken by Bob and Kristin Burchsted
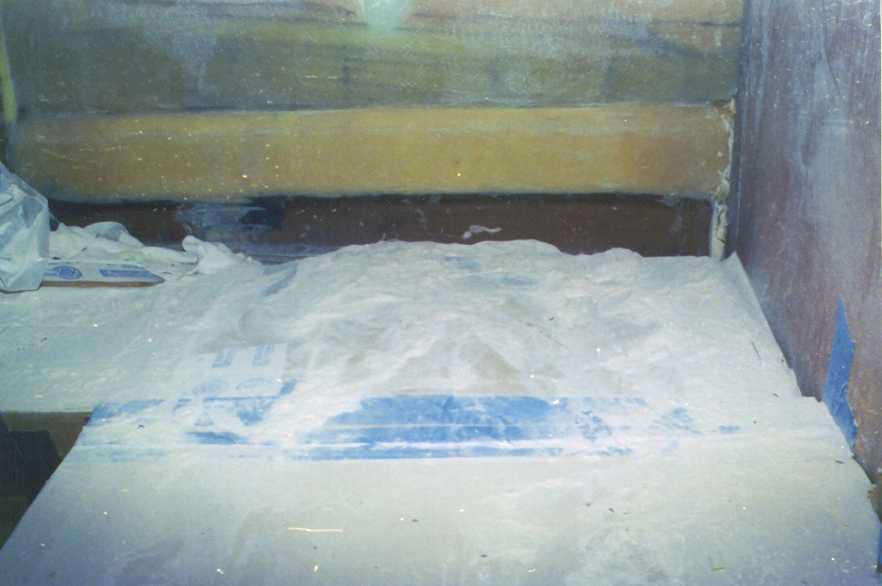
During the grinding, there is a lot of fiberglass dust. This is a view of the where the refrigerator goes, and a mound of fiberglass dust.
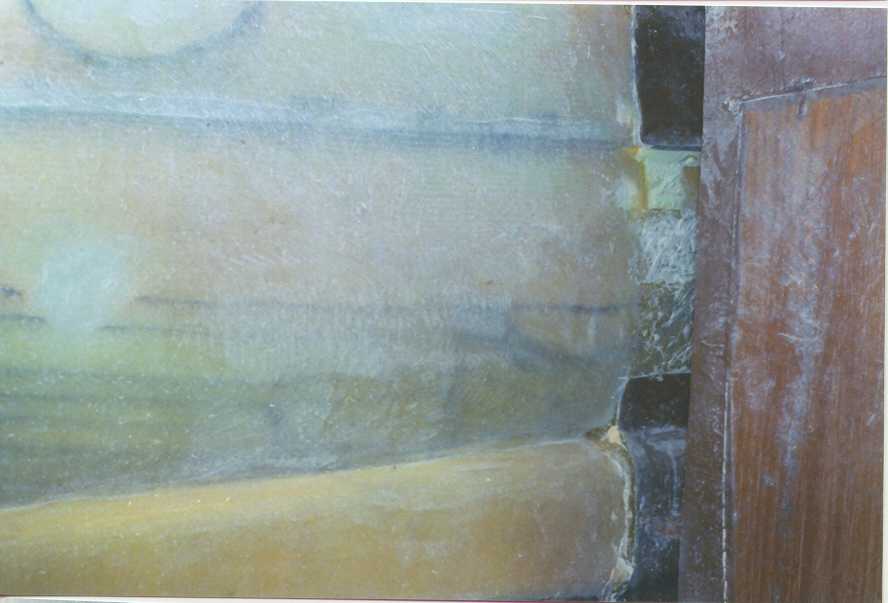
A view of the fiberglass repair area behind the refrigerator. The cove stripe stringer has been completely ground down.
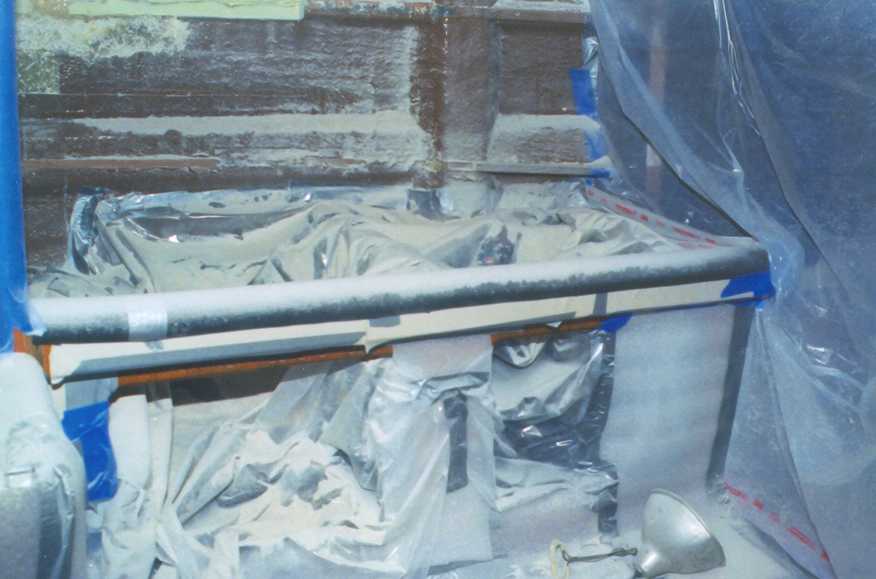
The interior, where the pilot berth is, is covered in fiberglass dust from the grinding.
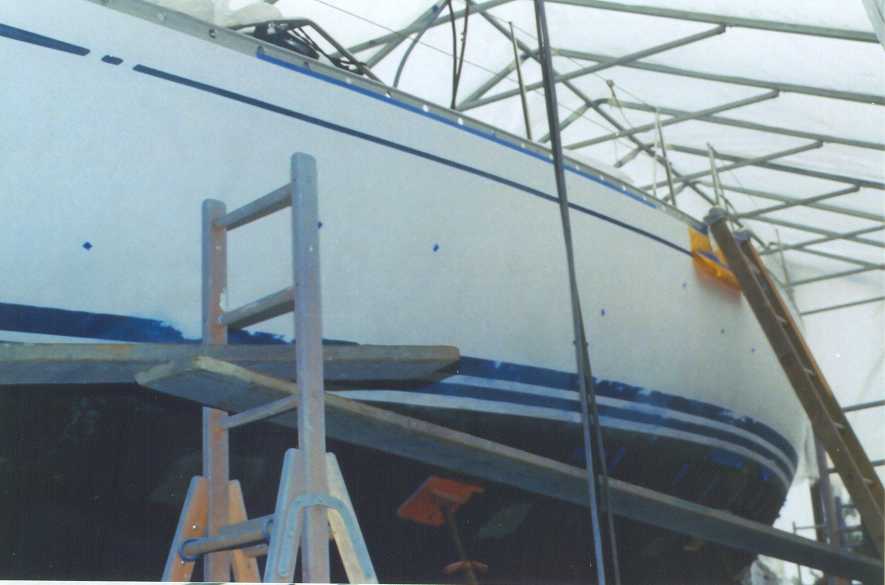
All the nicks and dings in the hull are being repaired. The blue spots on the starboard side are those nicks and dings being filled and faired.
The stern, especially, had a lot of nicks to be filled in, as evidenced by the red fairing compound.
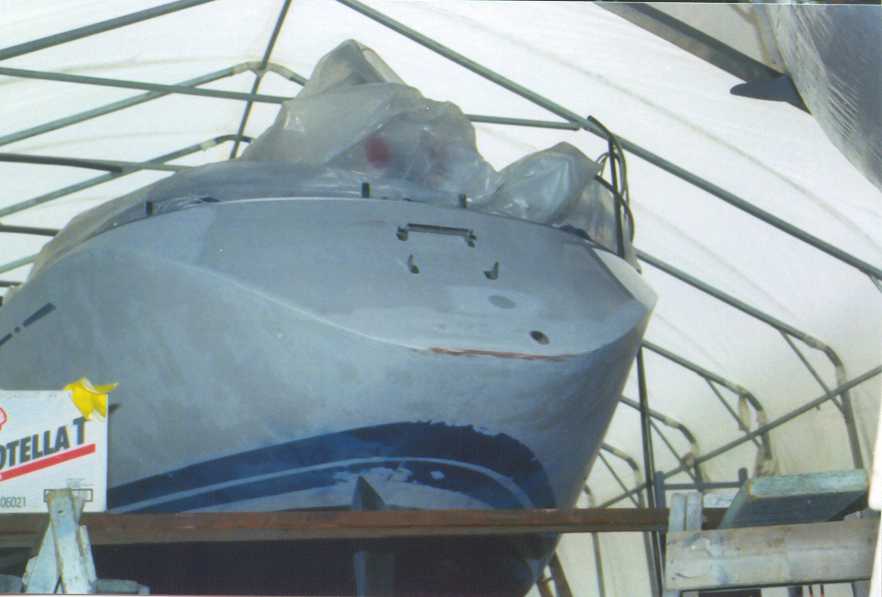
The repair area has been primed on the port side.
